Want to Setup Cloudflare on your Website ?. Then you are in the right place.
I will guide you each and every step to configure Cloudflare on your website.
What is Cloudfare?
Cloudflare, Inc.
is an American web infrastructure and website security company,
providing content delivery network services, DDoS mitigation, Internet
security, and distributed domain name server services.
Why needed to install cloudfare?
Cloudflare is a service that helps to increase the performance and speed of your website. It has services like
CDN, DDoS attack protection, Free Domain Name Server(DNS) services. It caches the static content of your website and delivers the result in a much faster way
Advantages of Cloudfare:
1. Cloudflare is free for basic users and it very easy to set up
2. Increase the performance and speed of your website.
3. Free SSL Certificate.
4. Protects from Dos and DDoS attacks.
5. Protects your website from hackers.
Installing Cloudflare CDN :
A. Go to Cloudfare:
1. Open the Cloudfare homepage. Click here
2. Go to signup Link placed in the Header Section and enter your information in the signup form.
3. Go to your mail account to confirm the Account.
4. Enter your Website URL (or go to add site).
5. Now Review your DNS Records page appears. Don't worry, you just have to go to the below of the page and then click on the Continue button.
6. Now, you have to replace the nameserver of your website ie.you have to replace your domain provider nameserver with Cloudfare provided nameserver.
7. After changing nameserver, Click on done, Checknamservers.
8. Now wait for just 5 minutes and you have changed your nameserver.
B. Go to your Wordpress Dashboard
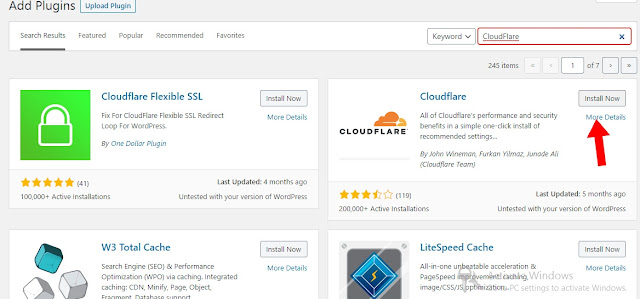
1. Go to add plugin.
2. Search for Cloudflare.
3. Now install and activate.
4. Now go to Cloudflare plugin.
5.Enter your email( Be sure, you have verify it by clicking on the URL sent in your mail account)
6. Now you have to enter your API:
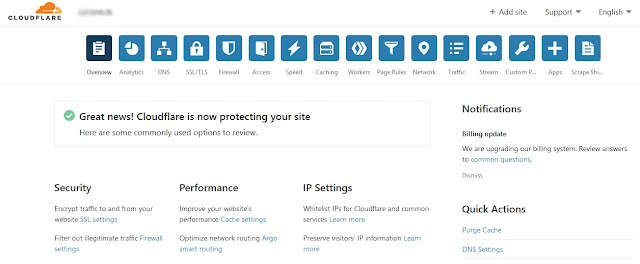
- For this, Go to Cloudfare Webpage Overview and scroll down to the below of the page on the right-hand side.
- Click on Get your API tokens.
- Go to the API Keys section and click on View in Global API Key. To view this
Global API Key, enter your password too. - Copy this Global API key in your Cloudflare plugin.
- Account connected.
7. Now, optimize Cloudfare and click on Apply
8. Now you have to go to SSL/TLS Overview and you have to select SSL mode to flexible.
9. Now, go to Edge certificate in the same SSL/TLS Section and on the Automatic HTTPS Rewrites.
10. Your installation of cloudflare CDN is completed.
For more latest updates news and tricks. Visit


No comments:
Post a Comment